Cloudflare

The recommended way to integrate CrowdSec Blocklists with Cloudflare is the Self-Hosted Cloudflare Bouncer, connected to a Blocklist Integration Endpoint. You don't need to deploy anything on your servers and you are able to choose the type of remediation for each blocklist: Ban or Captcha, resulting in a Block or Turnstile challenge for the end-user.
For other integration methods (Security Engine LAPI, CLI Bouncer Daemon, advanced config), see the full Cloudflare Bouncer documentation.
Create a Blocklist Integration Endpoint
- 1- Create an integration
- 2- Remediation Component
- 3- Save your credentials
- 4- Subscribe to blocklists
Step 1 - Create an integration in the CrowdSec Console
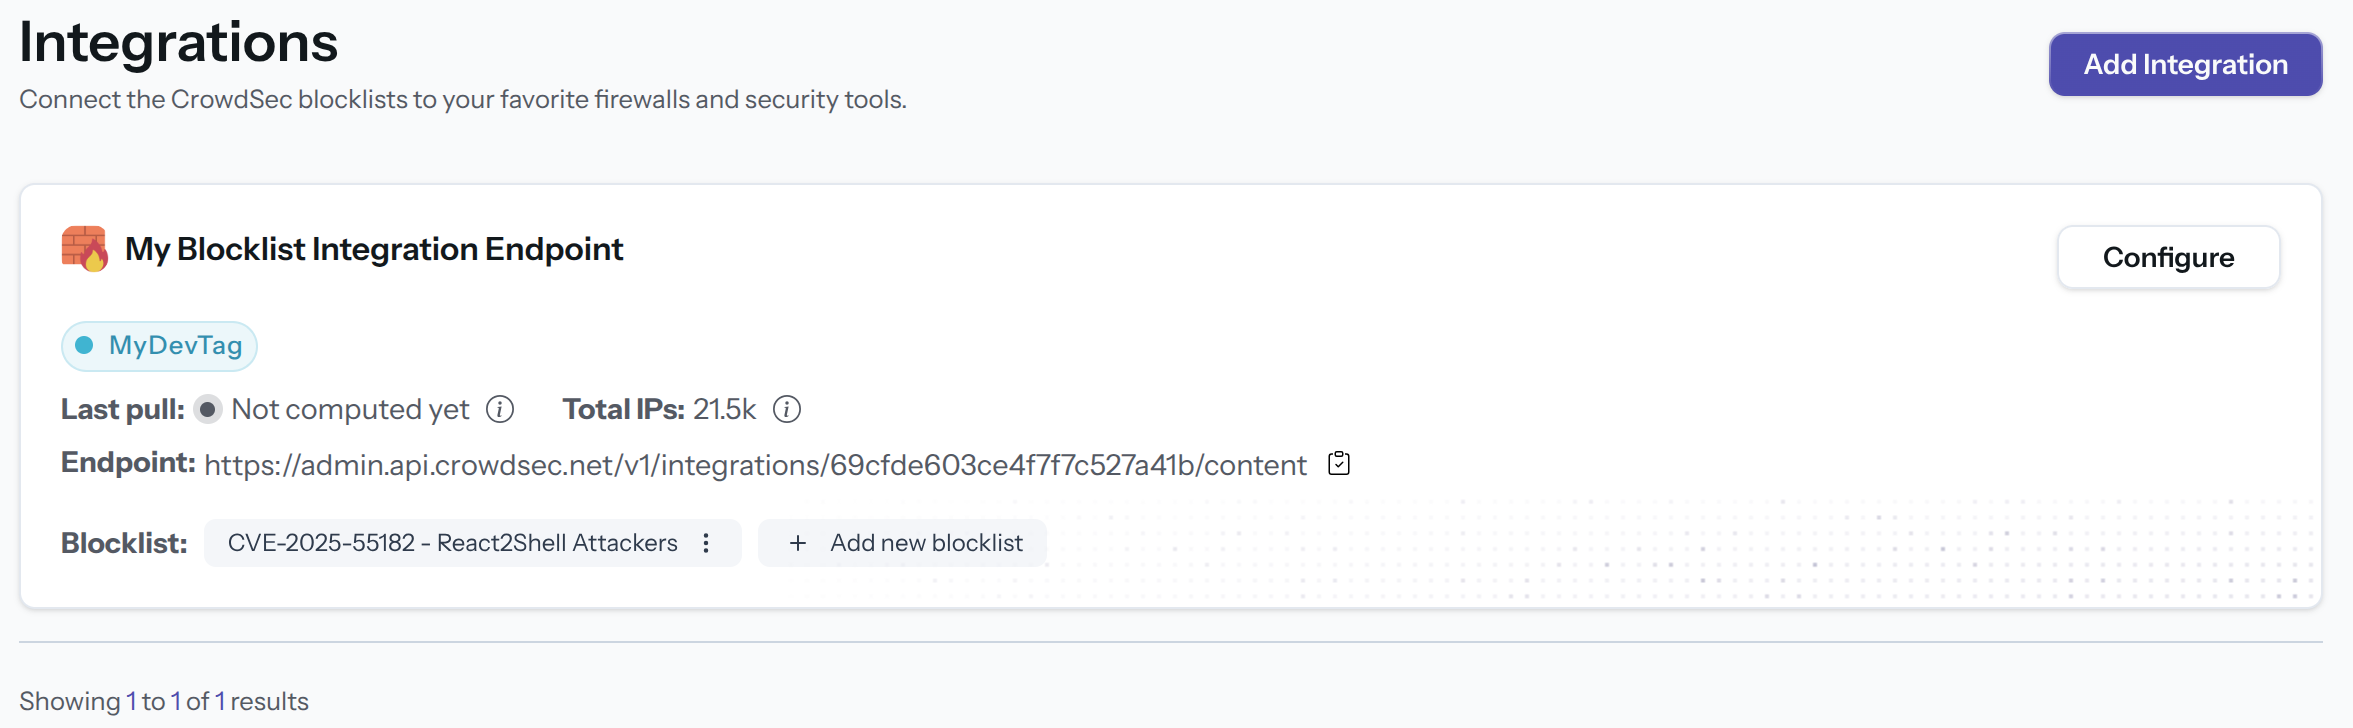
In your CrowdSec Console account, navigate to the Blocklist tab in the top menu bar, then select the Integrations sub-menu. Choose the integration type you need, then click Connect.
If you don't have a CrowdSec Console account, sign up here. On mobile, use the menu icon in the top-right corner, tap Blocklist, then Integrations.
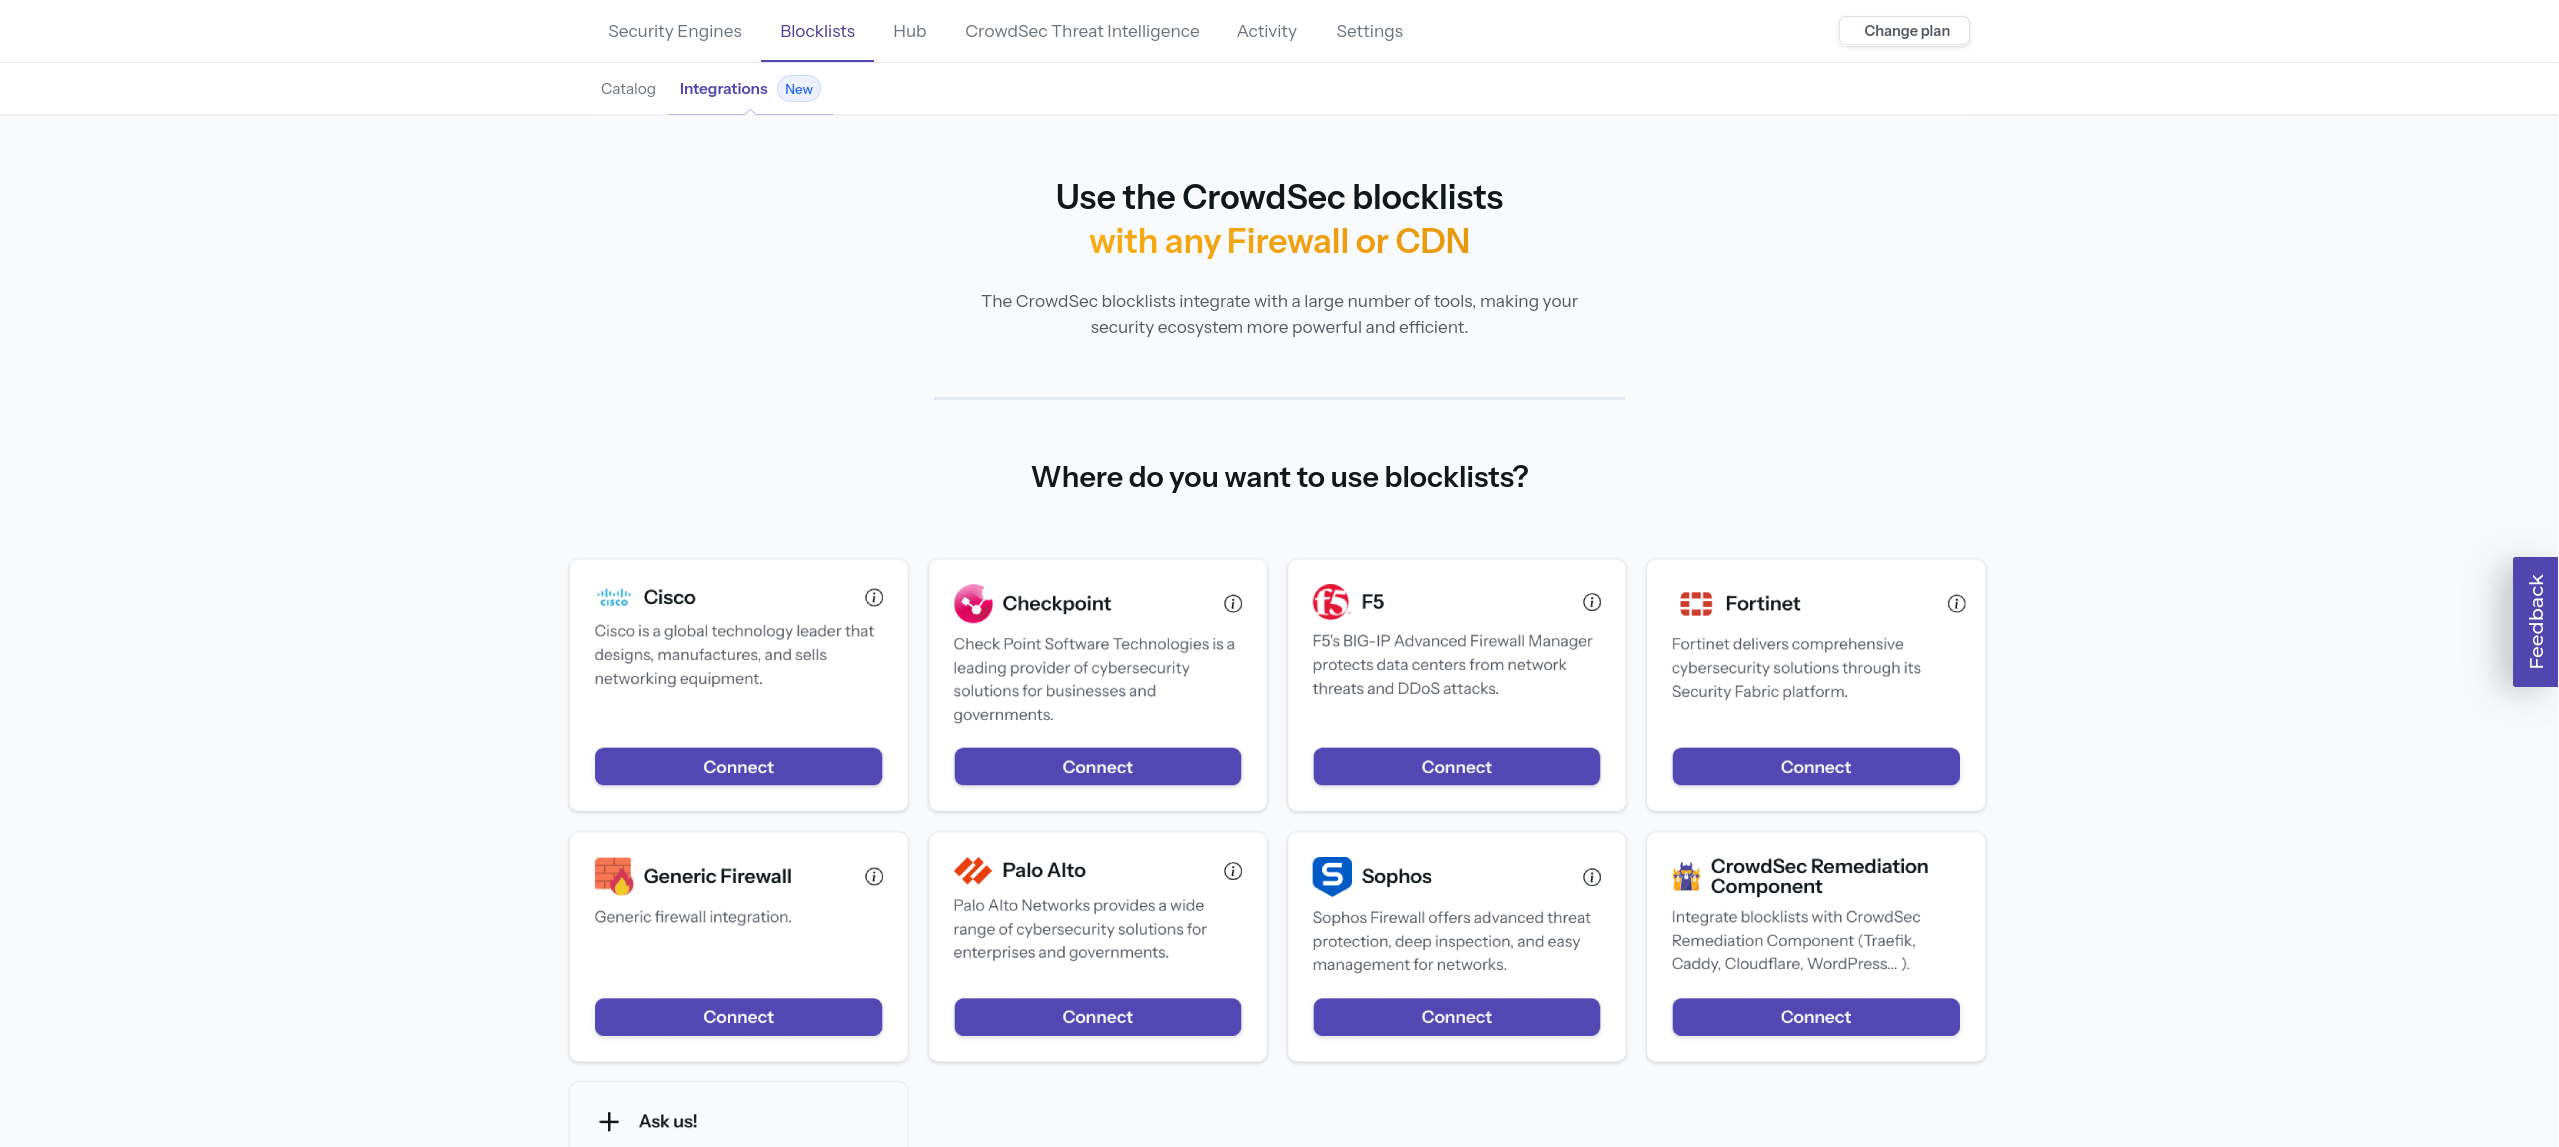
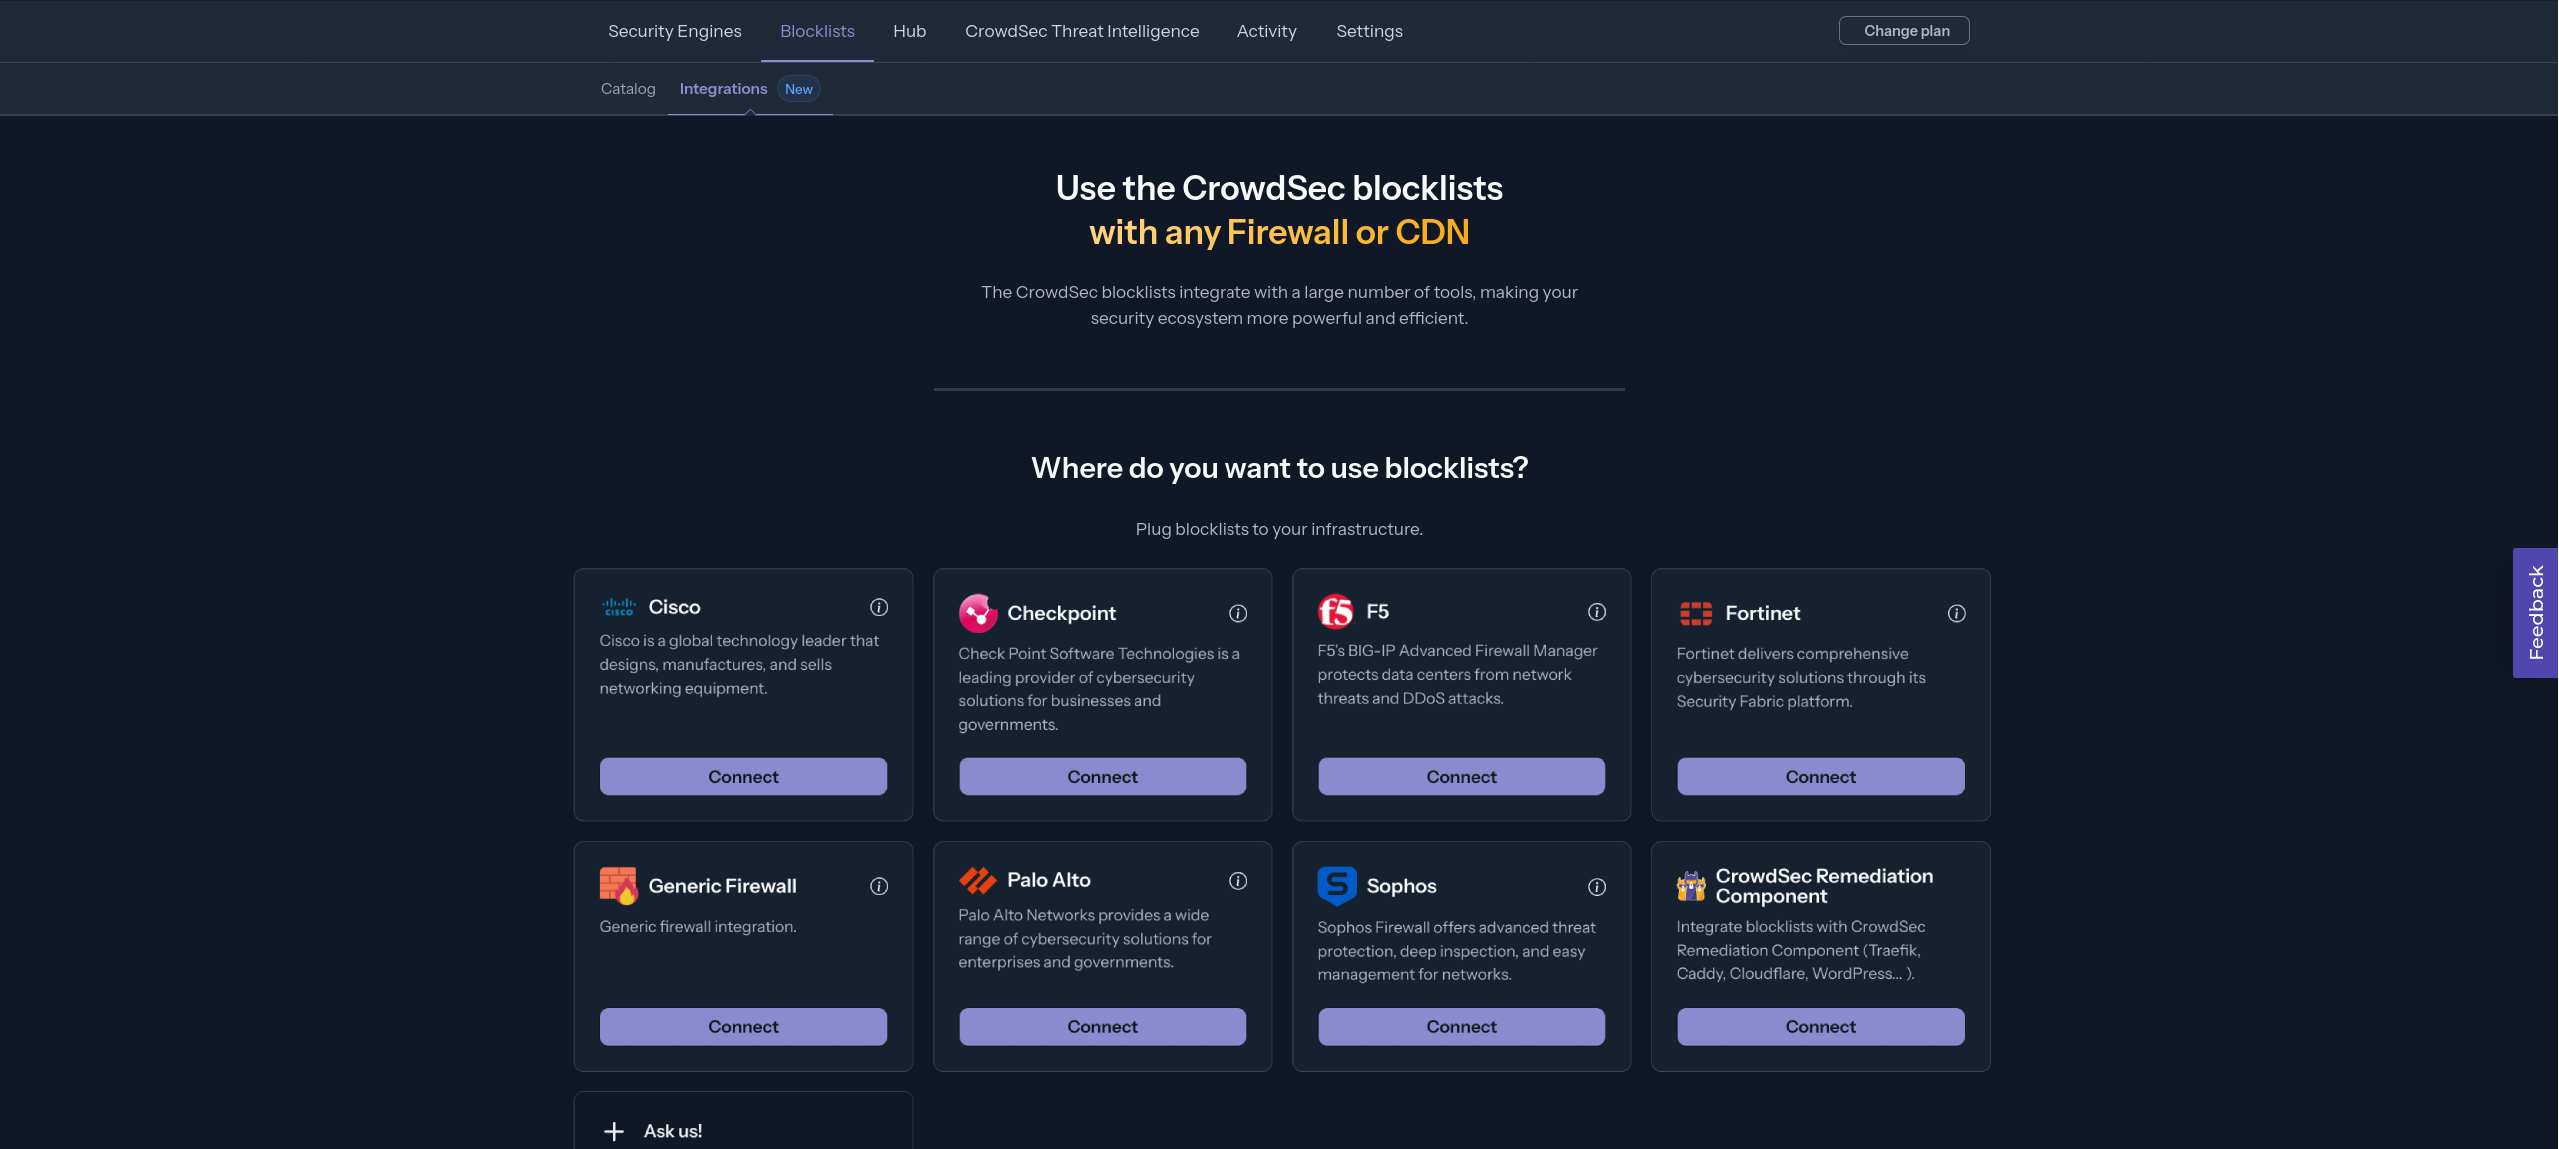
Step 2 - Fill in integration details
Name the integration (must be unique to your account) Optionally, add a description and tags to help you identify it later.
You can also configure:
- Enable IP aggregation — aggregate IPs into CIDR blocks to reduce list size
- Pull limit — maximum number of IPs returned per pull (default: 10,000)
Then click Create or Save.
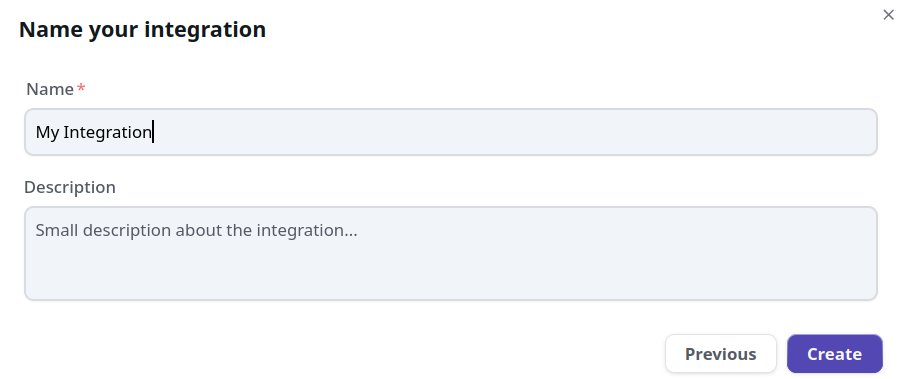
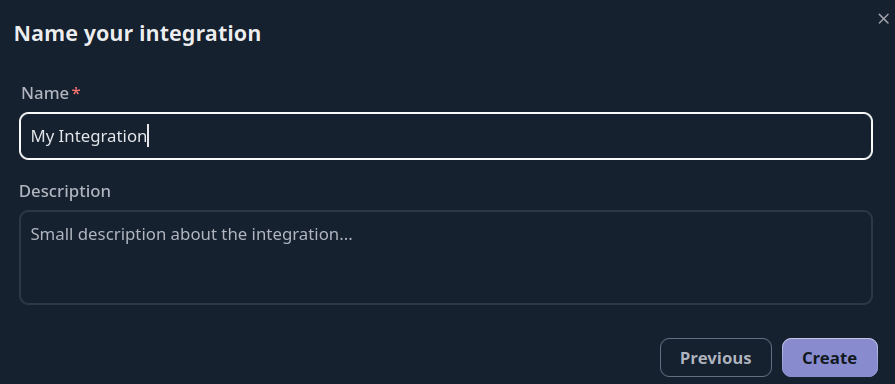
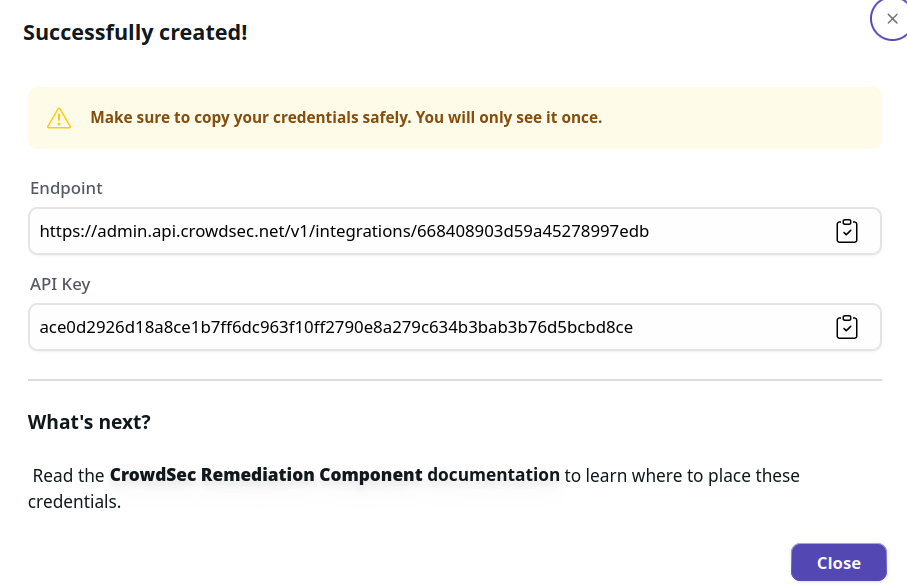
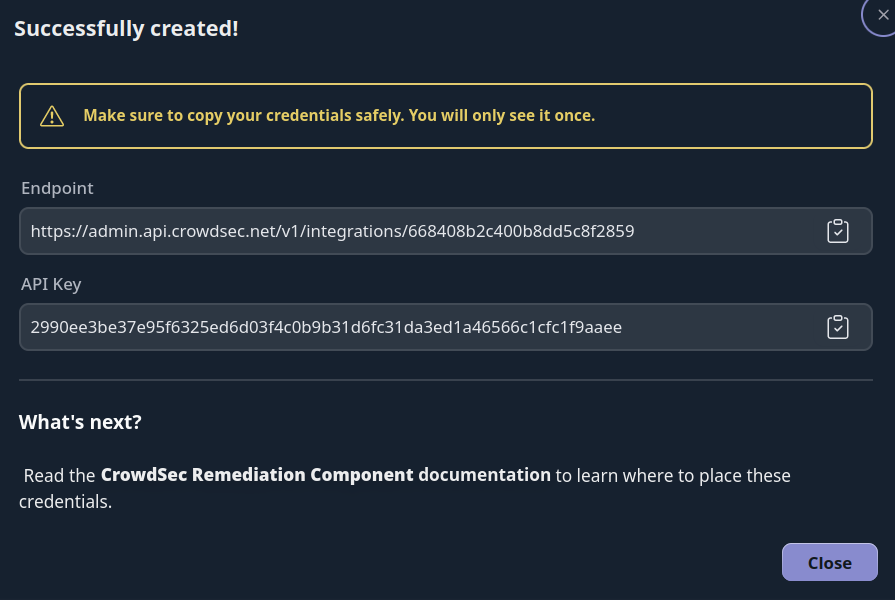
Step 3 - Copy your credentials
The credentials shown next are displayed only once. Copy them before closing this screen. If you lose your credentials, you can regenerate them via Configure → Regenerate Credentials on the integration page.
The Remediation Component integration provides you with an API key to copy into your Remediation Component config file, along with the endpoint URL.
Step 4 - Subscribe to Blocklists
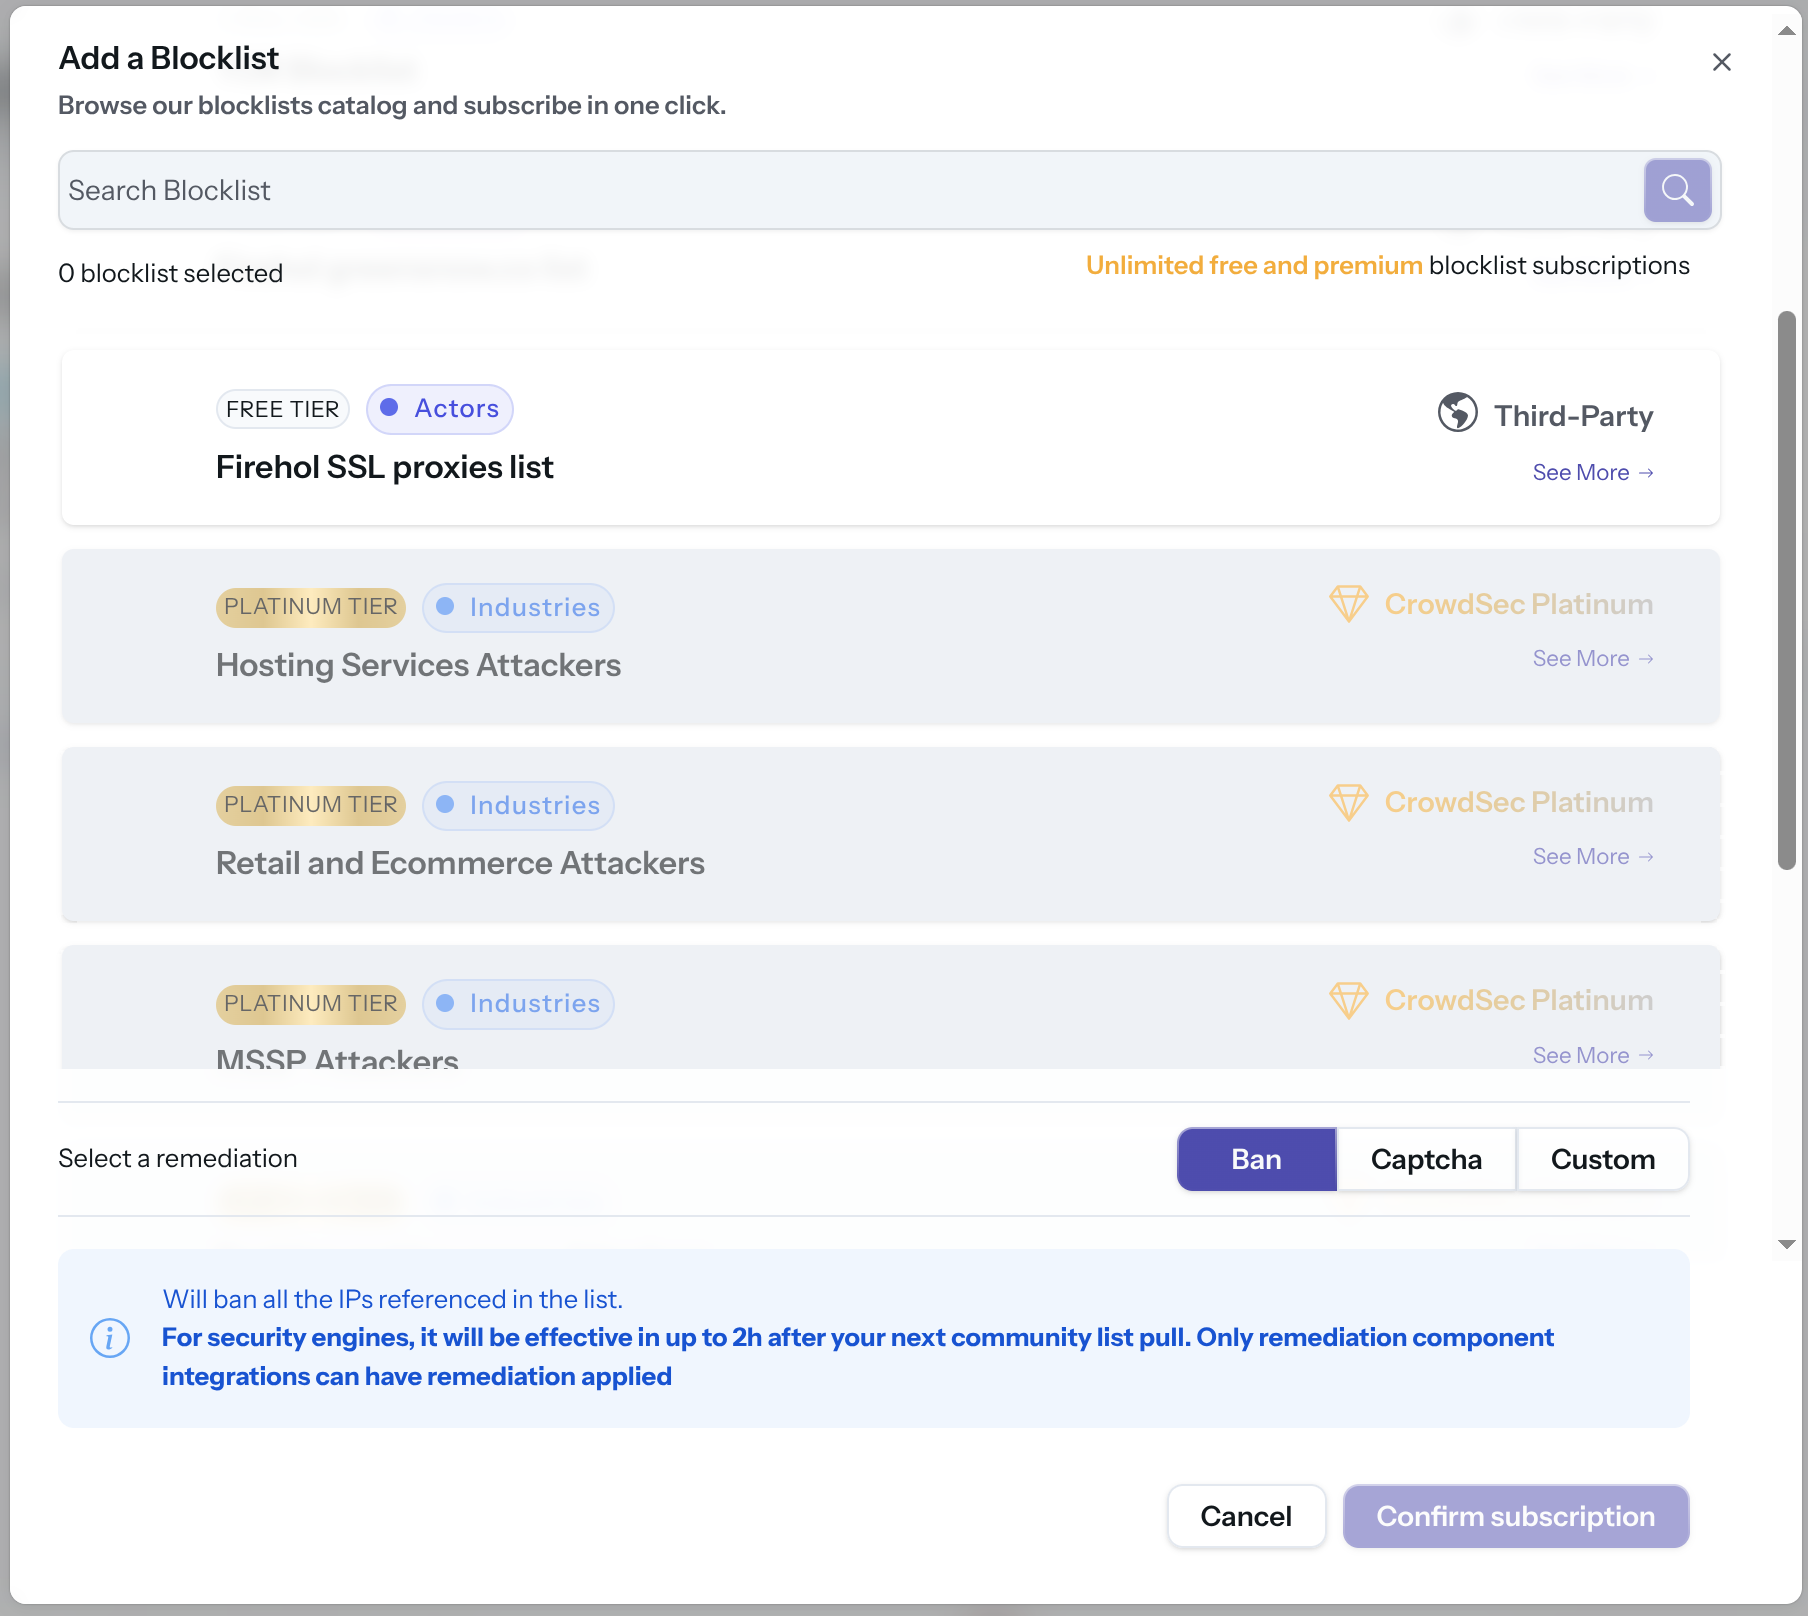
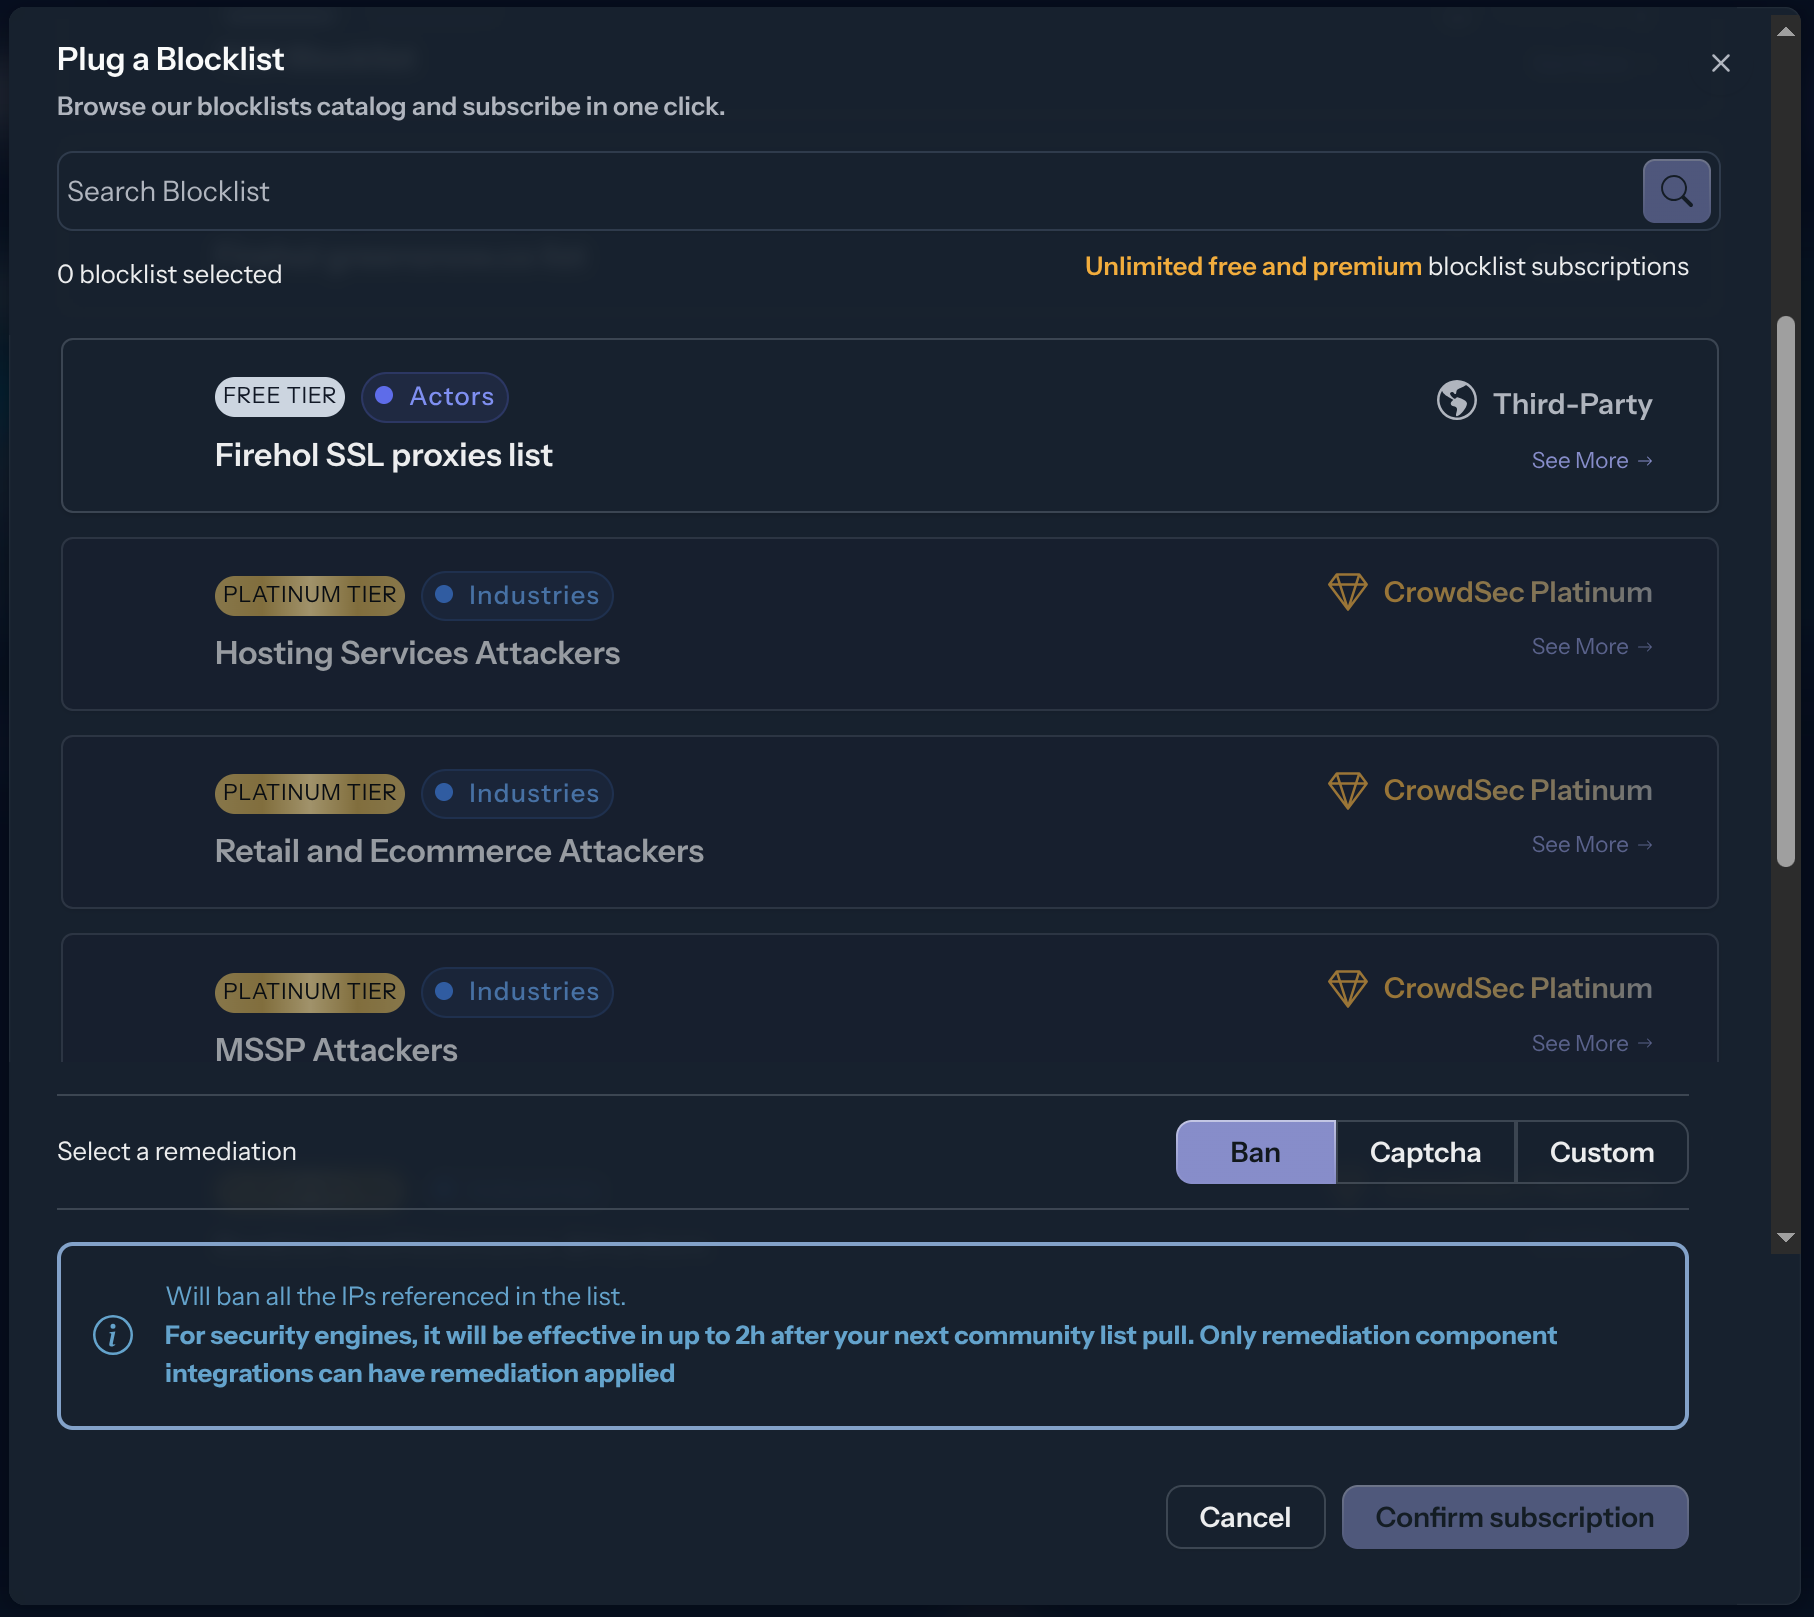
The integration endpoint will serve the deduplicated blocklists it's subscribed to. After creation, a subscription pop-up appears automatically. You can also access it later via the Add Blocklist button.
Select one or more blocklists available for your plan, then click Confirm Subscription. The blocklist name(s) will appear in the integration tile once subscribed.
Deploy and Configure the Cloudflare Bouncer
For Cloudflare, the Cloudflare Bouncer acts as the intermediary: it pulls decisions from the Blocklist Integration Endpoint and enforces remediations directly inside your Cloudflare account via Workers and a KV store — no server required on your side.
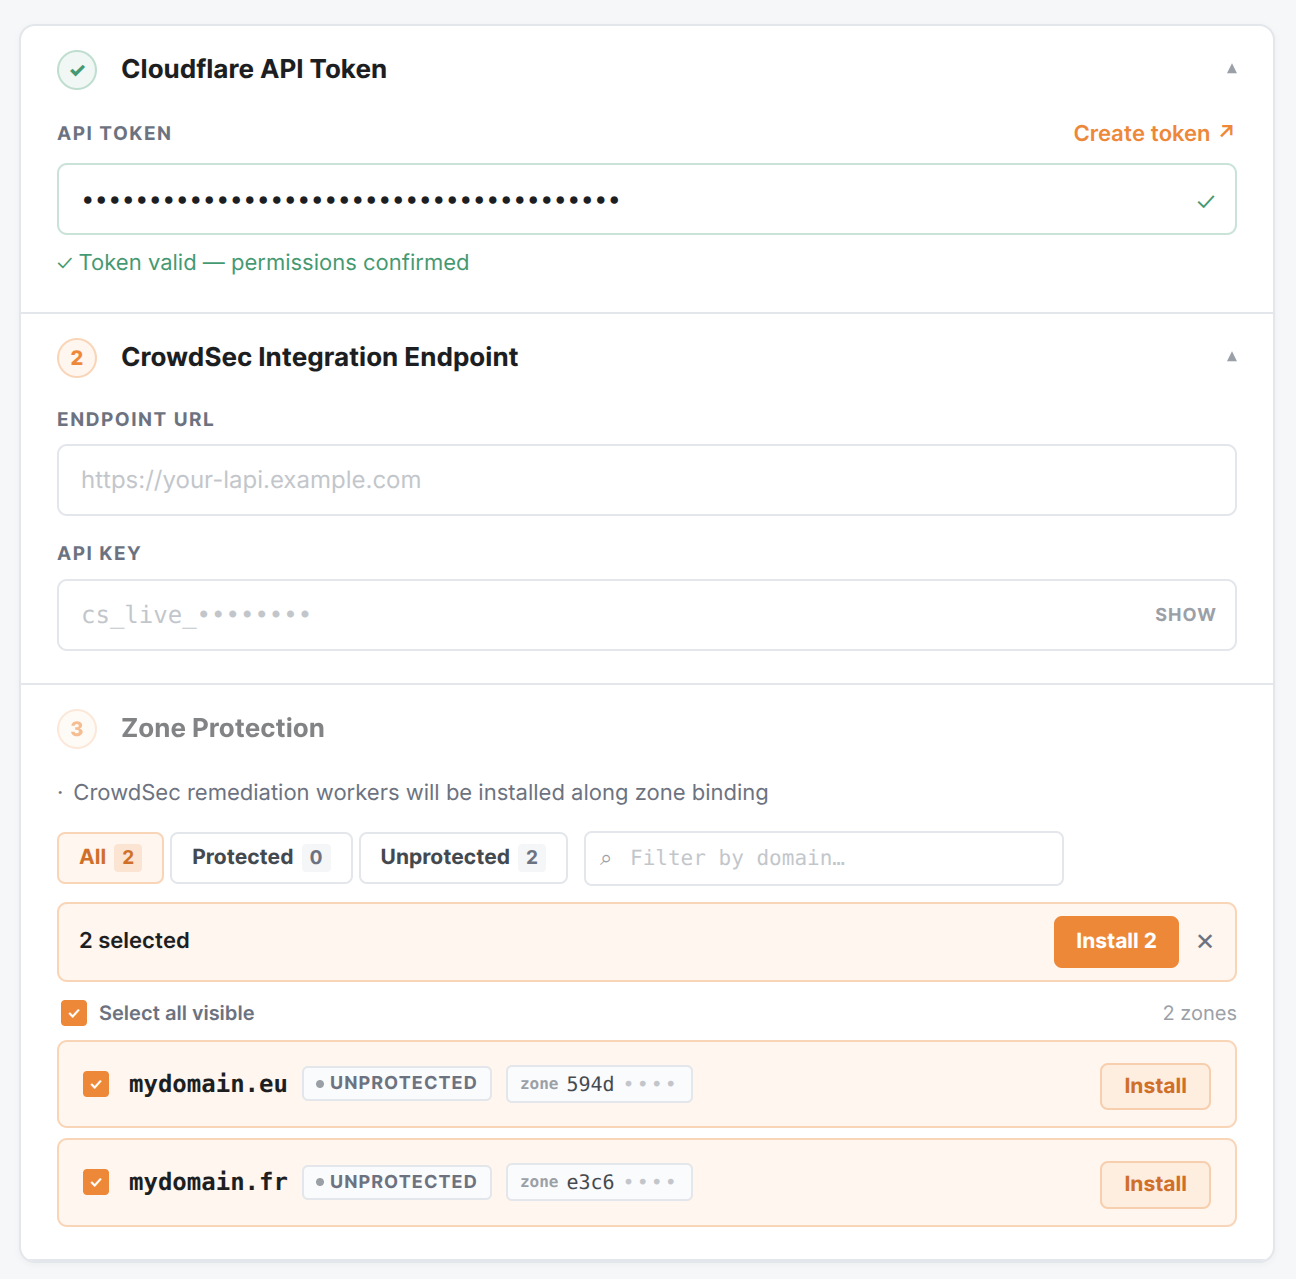
Follow the Self-Hosted Setup instructions to deploy the installer and configure it. When prompted for a CrowdSec Integration Endpoint, paste the URL from Step 1.
Once your zones are protected, the installer UI will show them as installed:
Go further
- Subscribe to more blocklists in the Blocklist Catalog to populate your integration.
- For advanced configuration, metrics, CLI Bouncer Daemon setup, and more, see the Cloudflare Bouncer documentation.